Read before installation: Report physical defects or damage before installation or before removing the protective coatings. This is a dry installation. Smart Tint® strongly recommends using a qualified installation professional.
Before you start
Smart Tint® project managers provide shop drawings to confirm final dimensions, wire locations, tolerances and installation logistics before manufacturing. Provide rough visible-glass measurements first, then confirm every final size and wire location on the shop drawings.
Necessary installation materials
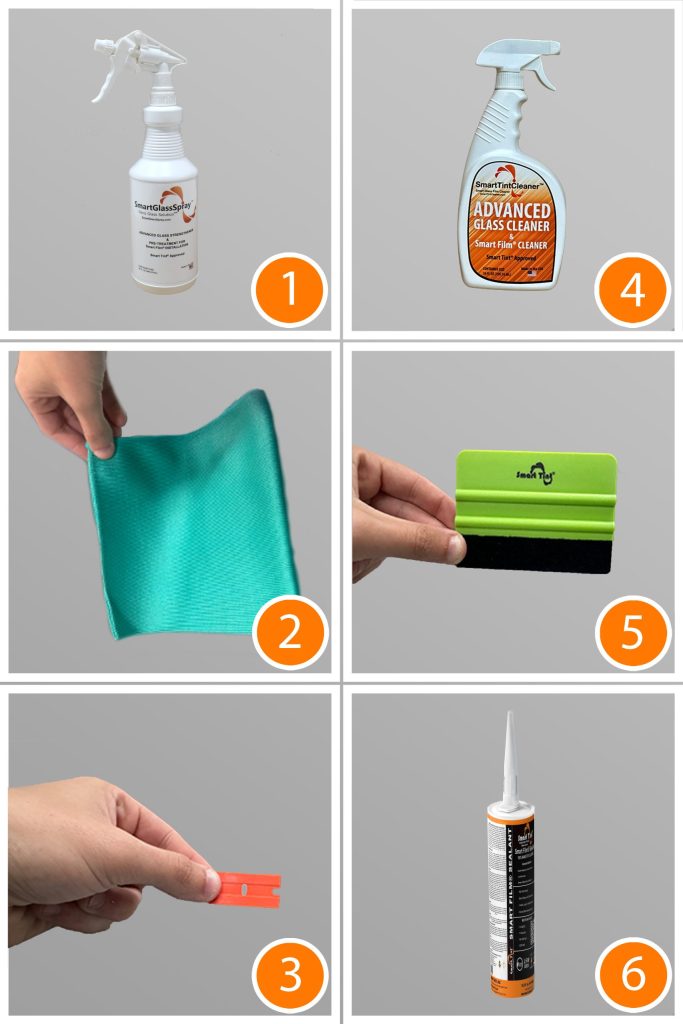
- Smart Glass Spray: prepares the glass surface and helps fill microscopic pits and defects.
- Nanofiber cloth: removes residue and debris before applying the film.
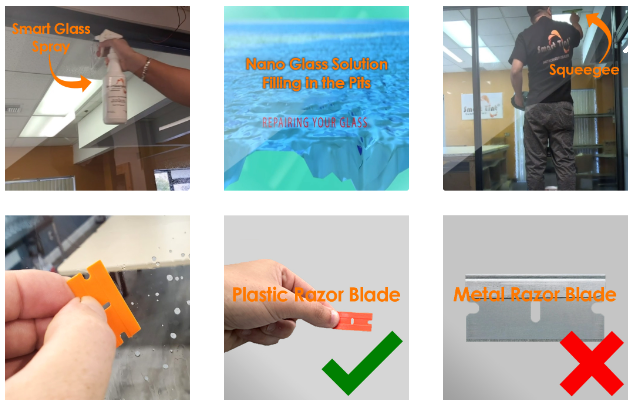
- Plastic razor blade: for glass cleaning only; do not use a metal blade.
- Advanced Glass Cleaner: for cleaning the glass surface before installation.
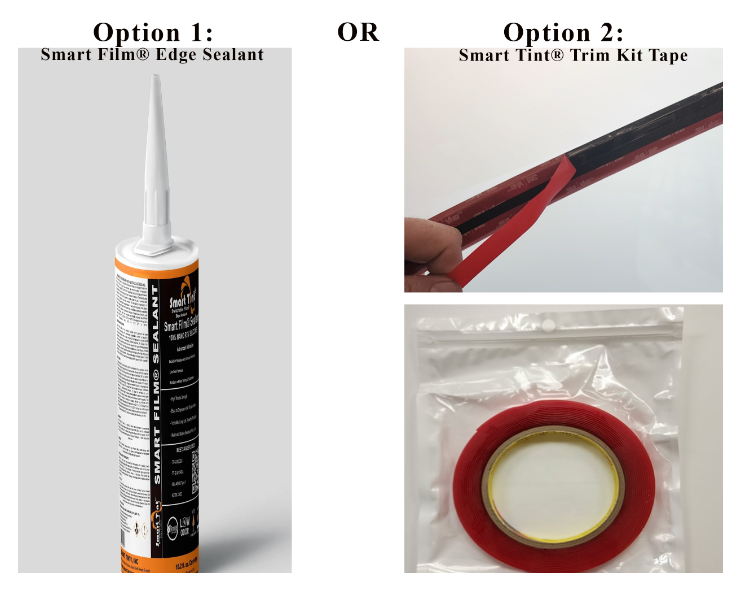
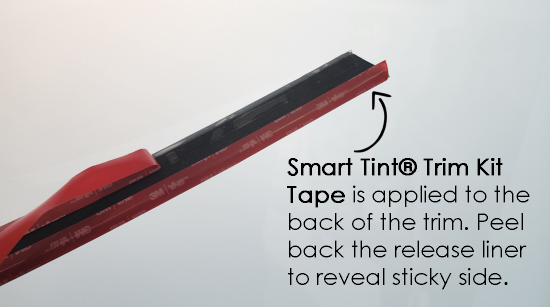
- Smart Tint® Trim Kit tape: adheres non-adhesive film and trim over bus bars.
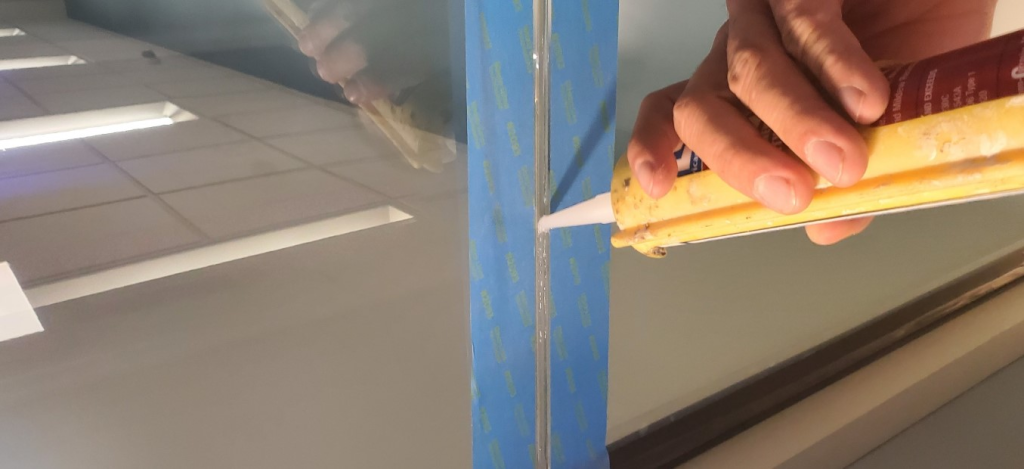
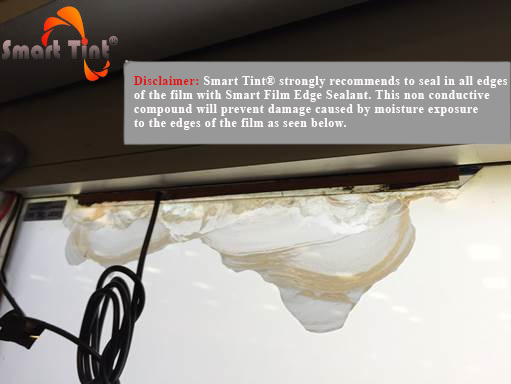
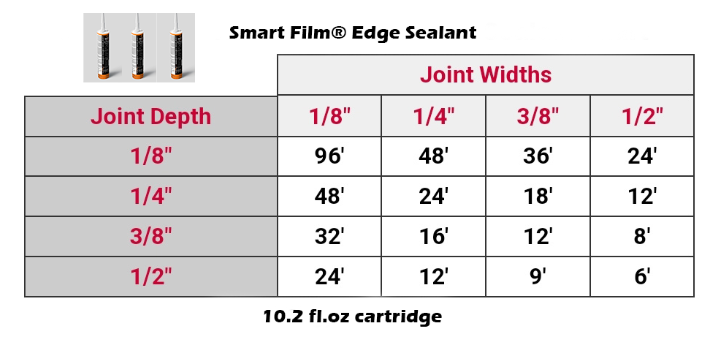
- Smart Film® Edge Sealant: seals the film edges against moisture, dirt and debris.
Additional recommended materials
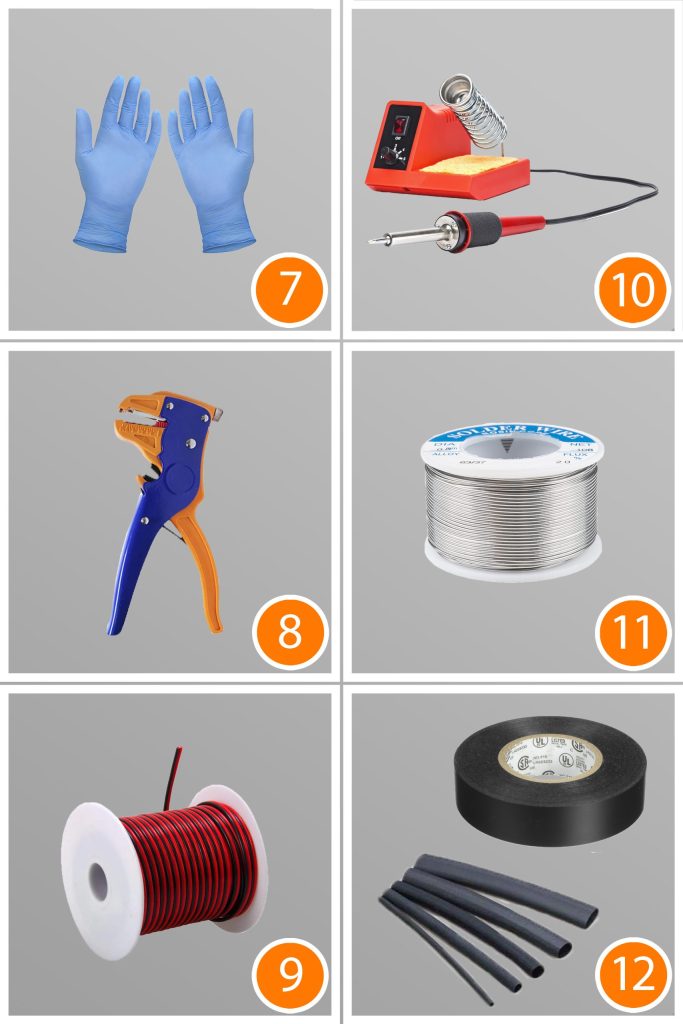
Recommended extras include nitrile gloves, a wire stripper, 18-gauge wire, a soldering iron, lead-free solder, heat shrink and electrical tape.
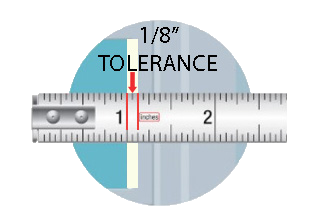
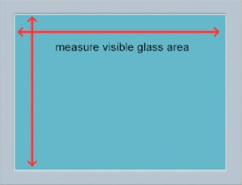
Measure the visible glass: the 1/8-inch rule
- For frameless glass, measure beveled edge to beveled edge.
- Leave a 1/8-inch gap on each side between the film and the edge of the window. The film is therefore 1/4 inch smaller in both width and height than the visible glass.
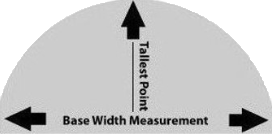
- For odd shapes, measure the rectangle or square that contains the shape.
- Do not rely on field trimming. Final dimensions and wiring are confirmed on the shop drawings before shipment.
Installation environment and handling
Use adequate lighting and a clean room
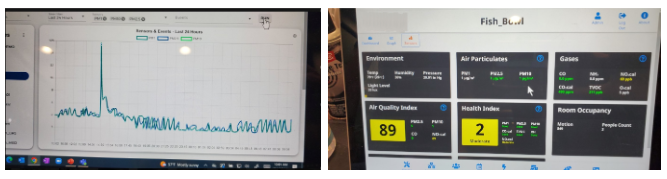
Install in bright, even lighting so dust and debris are visible. The work area must be as clean and dust-free as possible. When construction dust is present, misting water into the air about one hour before installation can help settle airborne particles. An air particulate meter helps confirm the room is clean: dust content should not be higher than PM2.5.
Handle the film carefully
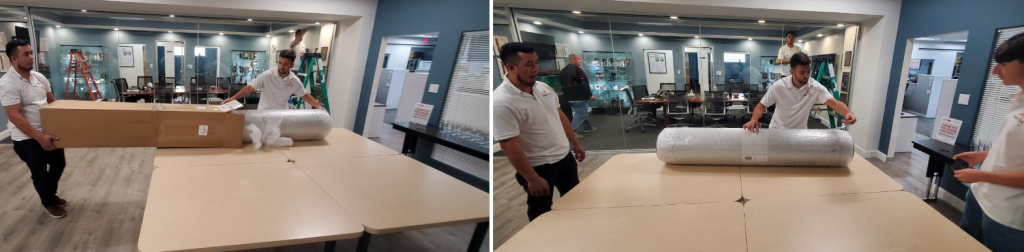
Never buckle, fold or crease Smart Film®. Keep it flat and straight. Carry it by its edges, never by the wires, and lay it down gently on a clean, flat surface.
Dry install only: do not use water or other liquids while applying the film. Smart Glass Spray and Advanced Glass Cleaner are used for surface preparation only; the final glass surface must be clean and completely dry before installation.
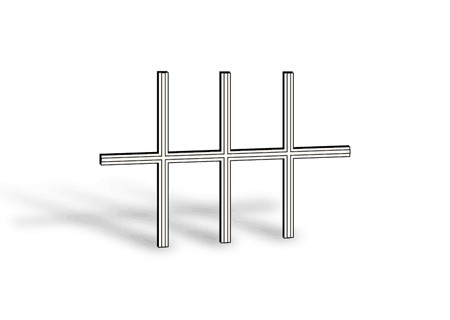
For windows with grilles, the grilles should be removable. Remove them, install the film on the flat glass, have an electrician wire and test it, then re-install the grilles over the film.
Additional installation tips
- Do not remove the Smart Cling® protective liner until you are ready to apply the film, and do not touch the adhesive side with your fingers.
- Peel the adhesive-side liner only 6 to 8 inches at a time. Remove it completely only after the panel is applied and air bubbles have been pressed away.
- Install Smart Tint® on the interior side of the window or installation surface.
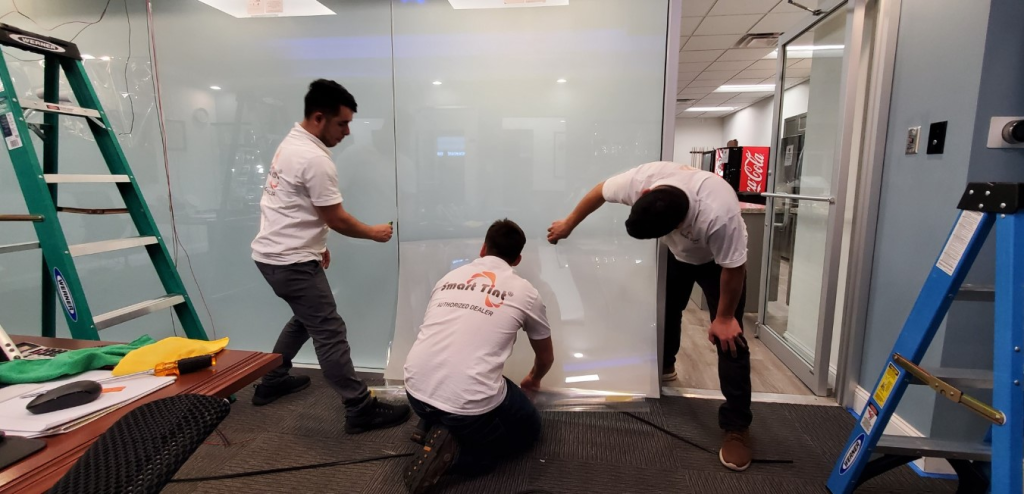
- For large panels, use at least three installers to reduce the risk of kinking, creasing or delamination.
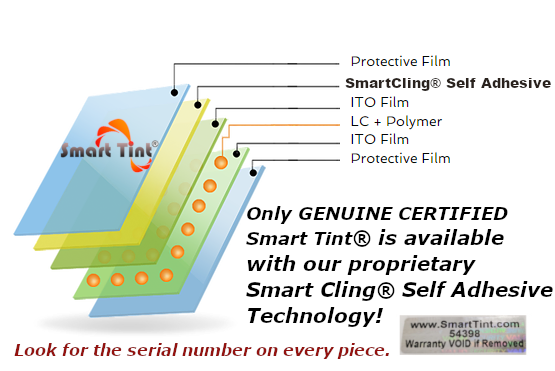
- Keep the serial number on the film. Removing it invalidates the warranty.
- Bus bars and wire leads must never touch metal frames, trim or surrounding objects.
Installation steps
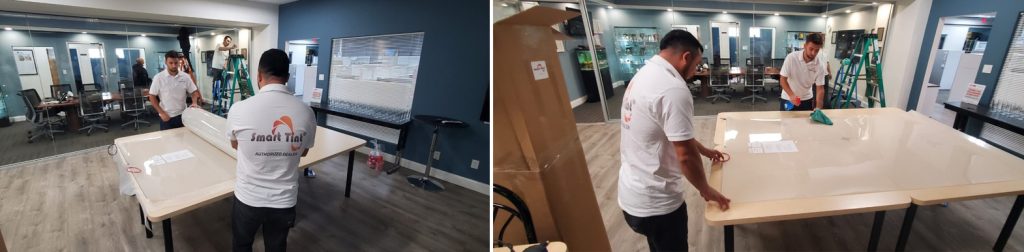
- Unbox and acclimate. Gently unroll the film onto a clean, flat surface. Wipe both sides of the release liner with Advanced Glass Cleaner or 90% isopropyl alcohol, then allow the film to acclimate to room temperature. Do not remove the front release liner.
- Clean the glass. Use Advanced Glass Cleaner or 90%+ isopropyl alcohol on a nanofiber cloth. Use only a plastic razor blade to remove debris; metal blades can scratch and pit the glass.

- Prepare the surface. Apply Smart Glass Spray or Advanced Glass Cleaner to the installation surface, wait five minutes, then squeegee away excess solution.
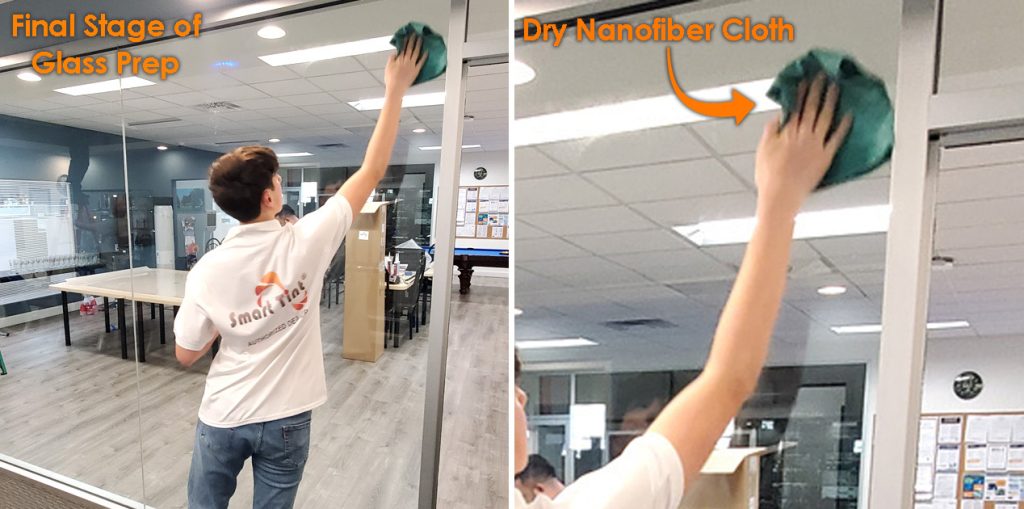
- Dry it completely. Use a nanofiber cloth to remove haze, then use a dry nanofiber cloth until the installation surface is 100% dry.
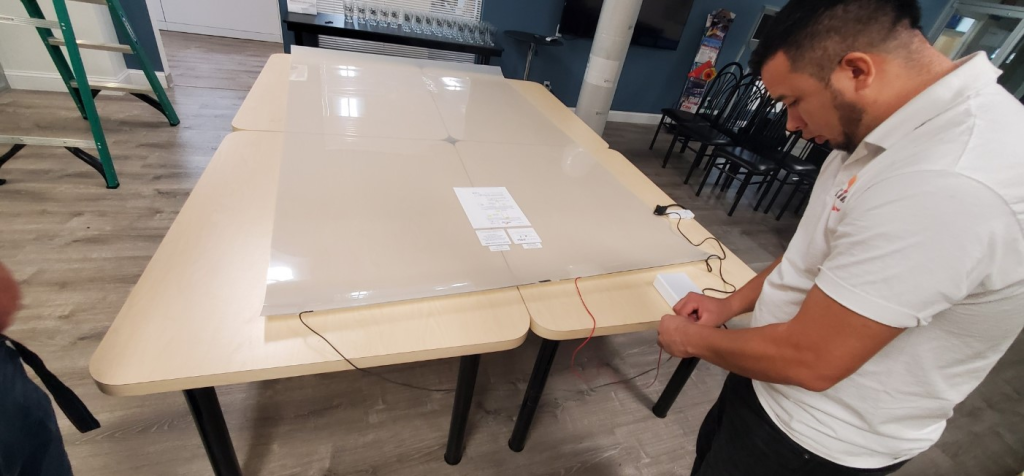
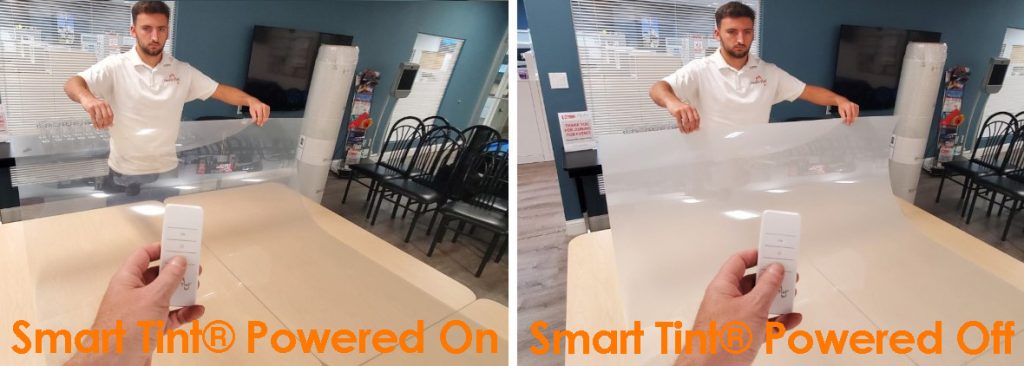
- Test the film. With the panel flat on a clean surface, connect power and switch it on and off to check for defects. Disconnect after testing; do not solder permanent connections at this point.
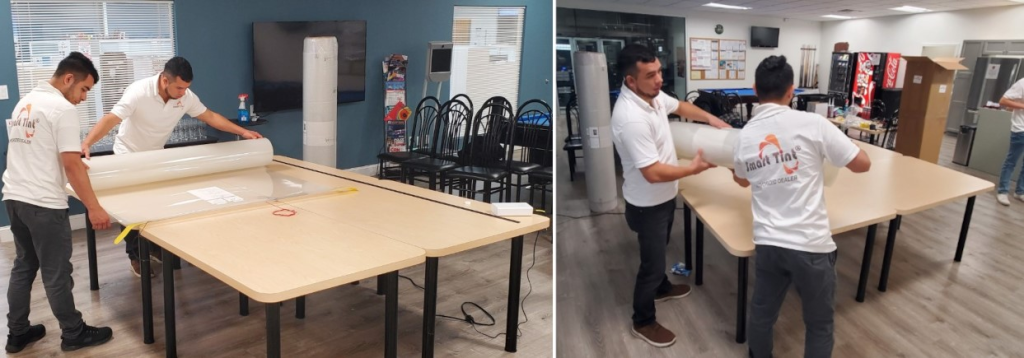
- Transport carefully. Roll the panel carefully and take it to the installation surface. Use a team of at least three installers when possible.
- Dry fit. Hold the film to the glass without peeling the liner to confirm size, alignment and wire placement. The film should match the approved shop drawing without on-site trimming.
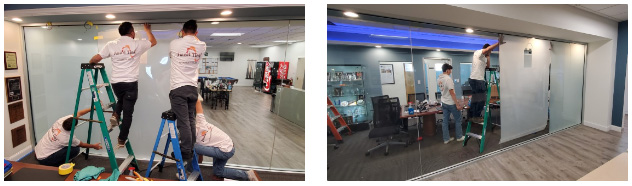
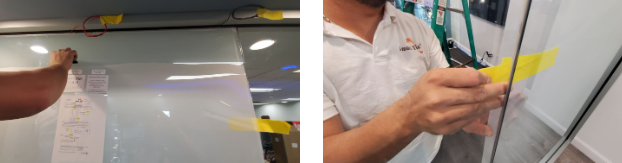
- Apply the Smart Cling® backing. Starting at the top, peel 6 to 8 inches of release liner at a time. Keep the panel aligned while another installer uses the installation card with moderate pressure to apply the exposed film to the glass.
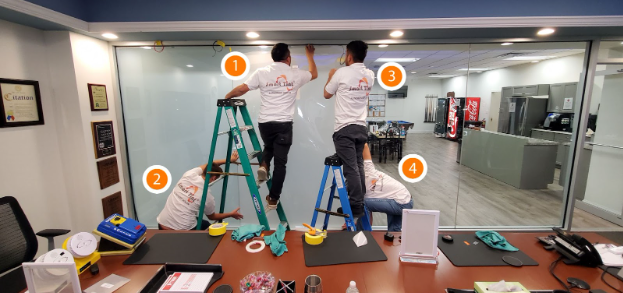
- Remove bubbles and finish the liner. Push air bubbles toward an edge with the installation card. Use painter's-tape pull tabs to control the release liner. Continue the process to the bottom, then remove the final liner section.
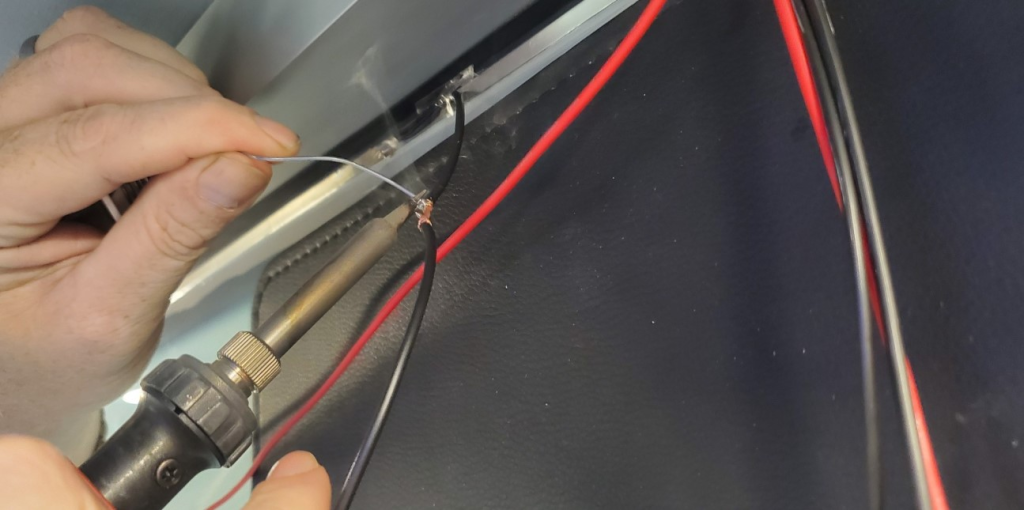
- Connect power. Complete electrical connections and any required soldering only after the film is installed. Have qualified personnel perform electrical work.
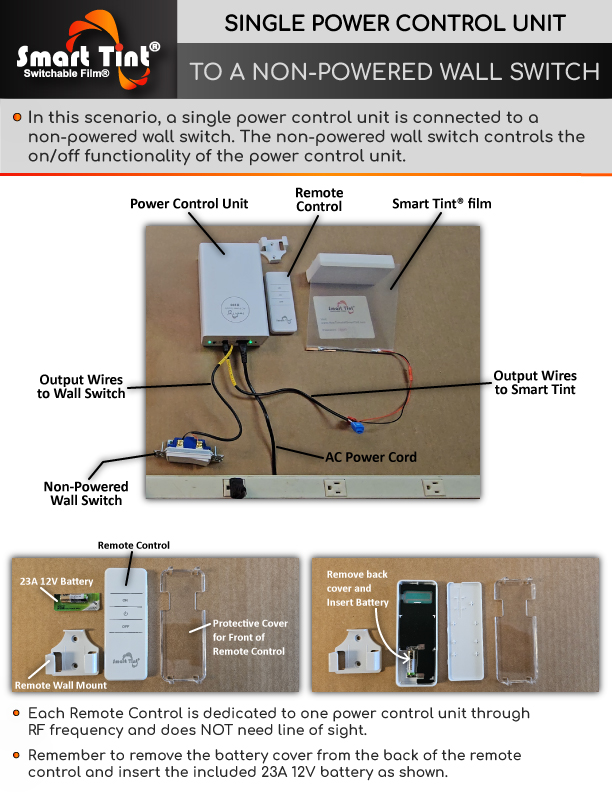
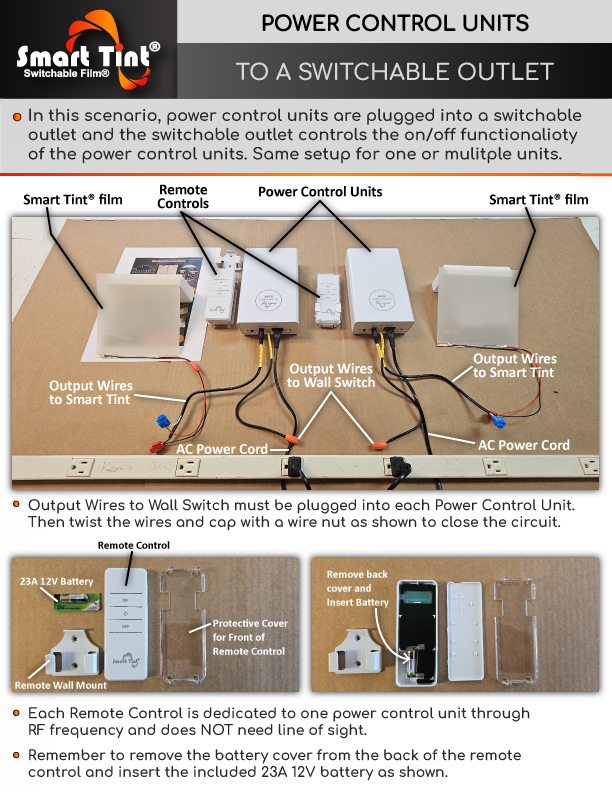
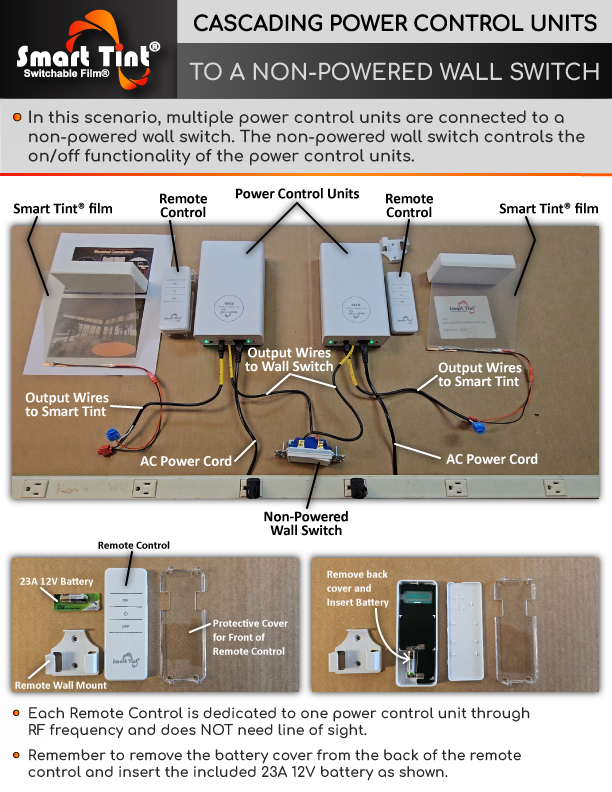
Power Control Unit wiring setups
Use the wiring diagram that matches the approved power-control configuration for the project. Electrical connections must be completed by qualified personnel.
Seal the edges and protect the bus bars
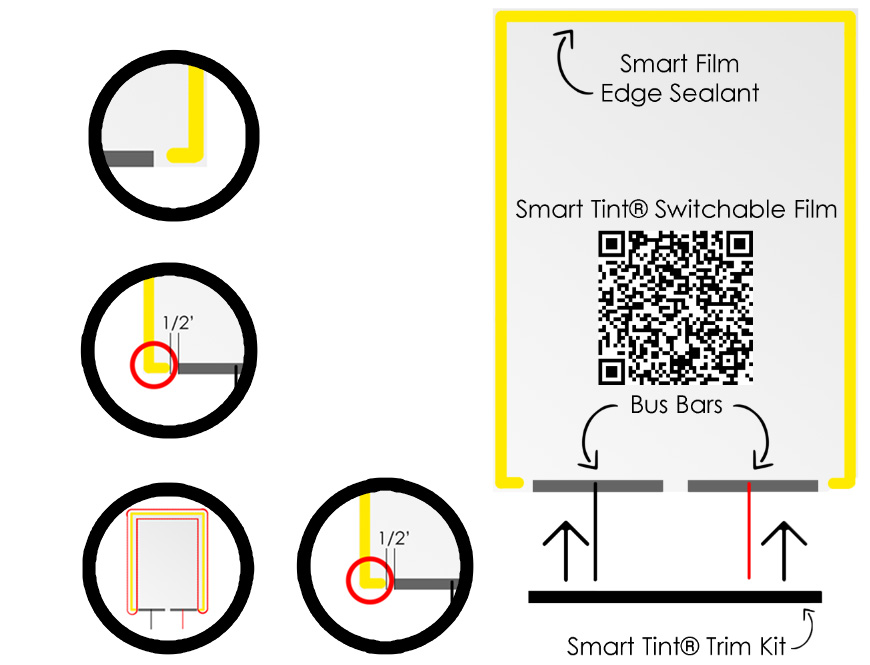
- Keep Smart Film® Edge Sealant at least 1/2 inch (1.3 cm) away from bus bars.
- Allow edge sealant to dry for 12 hours after application. Apply edge sealant while the film is powered off, then wait 12 to 24 hours before powering the film.
- Seal the three sides without bus bars. On the bus-bar side, stop sealant 1/2 inch before the electrical connection.
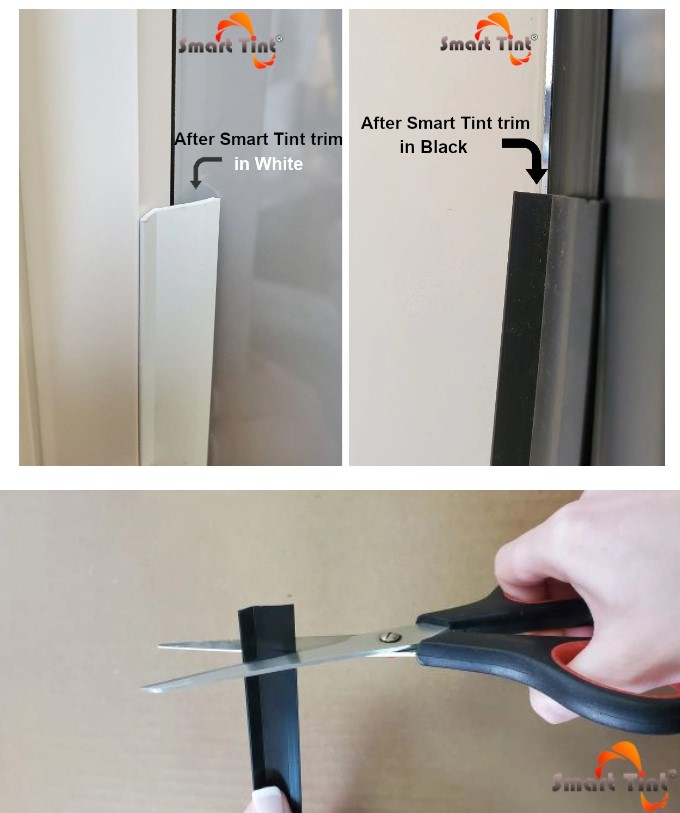
- Cover bus bars with a nonconductive Smart Tint® Trim Kit. Do not apply edge sealant over the bus-bar electrical connections.
Important: Incorrect sealing can allow moisture and humidity into the film, which can cause corrosion, streaking, striations, delamination and failure. Damage caused by improper installation is not repairable.